
Vintage Paper Star Banner
or
Christmas Ornament
Tutorial

I
have had this vintage music book (so vintage it's probably antique) for
a long long time. It was in pretty rough shape but, I LOVED it...Just
didn't know what to do with it.....until now!


I've made these stars for a holiday decoration before, for the kids, in bright festive colors. Paper stars crafted from antique music book pages give them a whole new (grown up I might add) look and feel. I just know you're going to fall in love with them as much as I have.
Supplies
Vintage music pages
glue
dish
small craft paint brush
scissors

Make your paper squares (6)

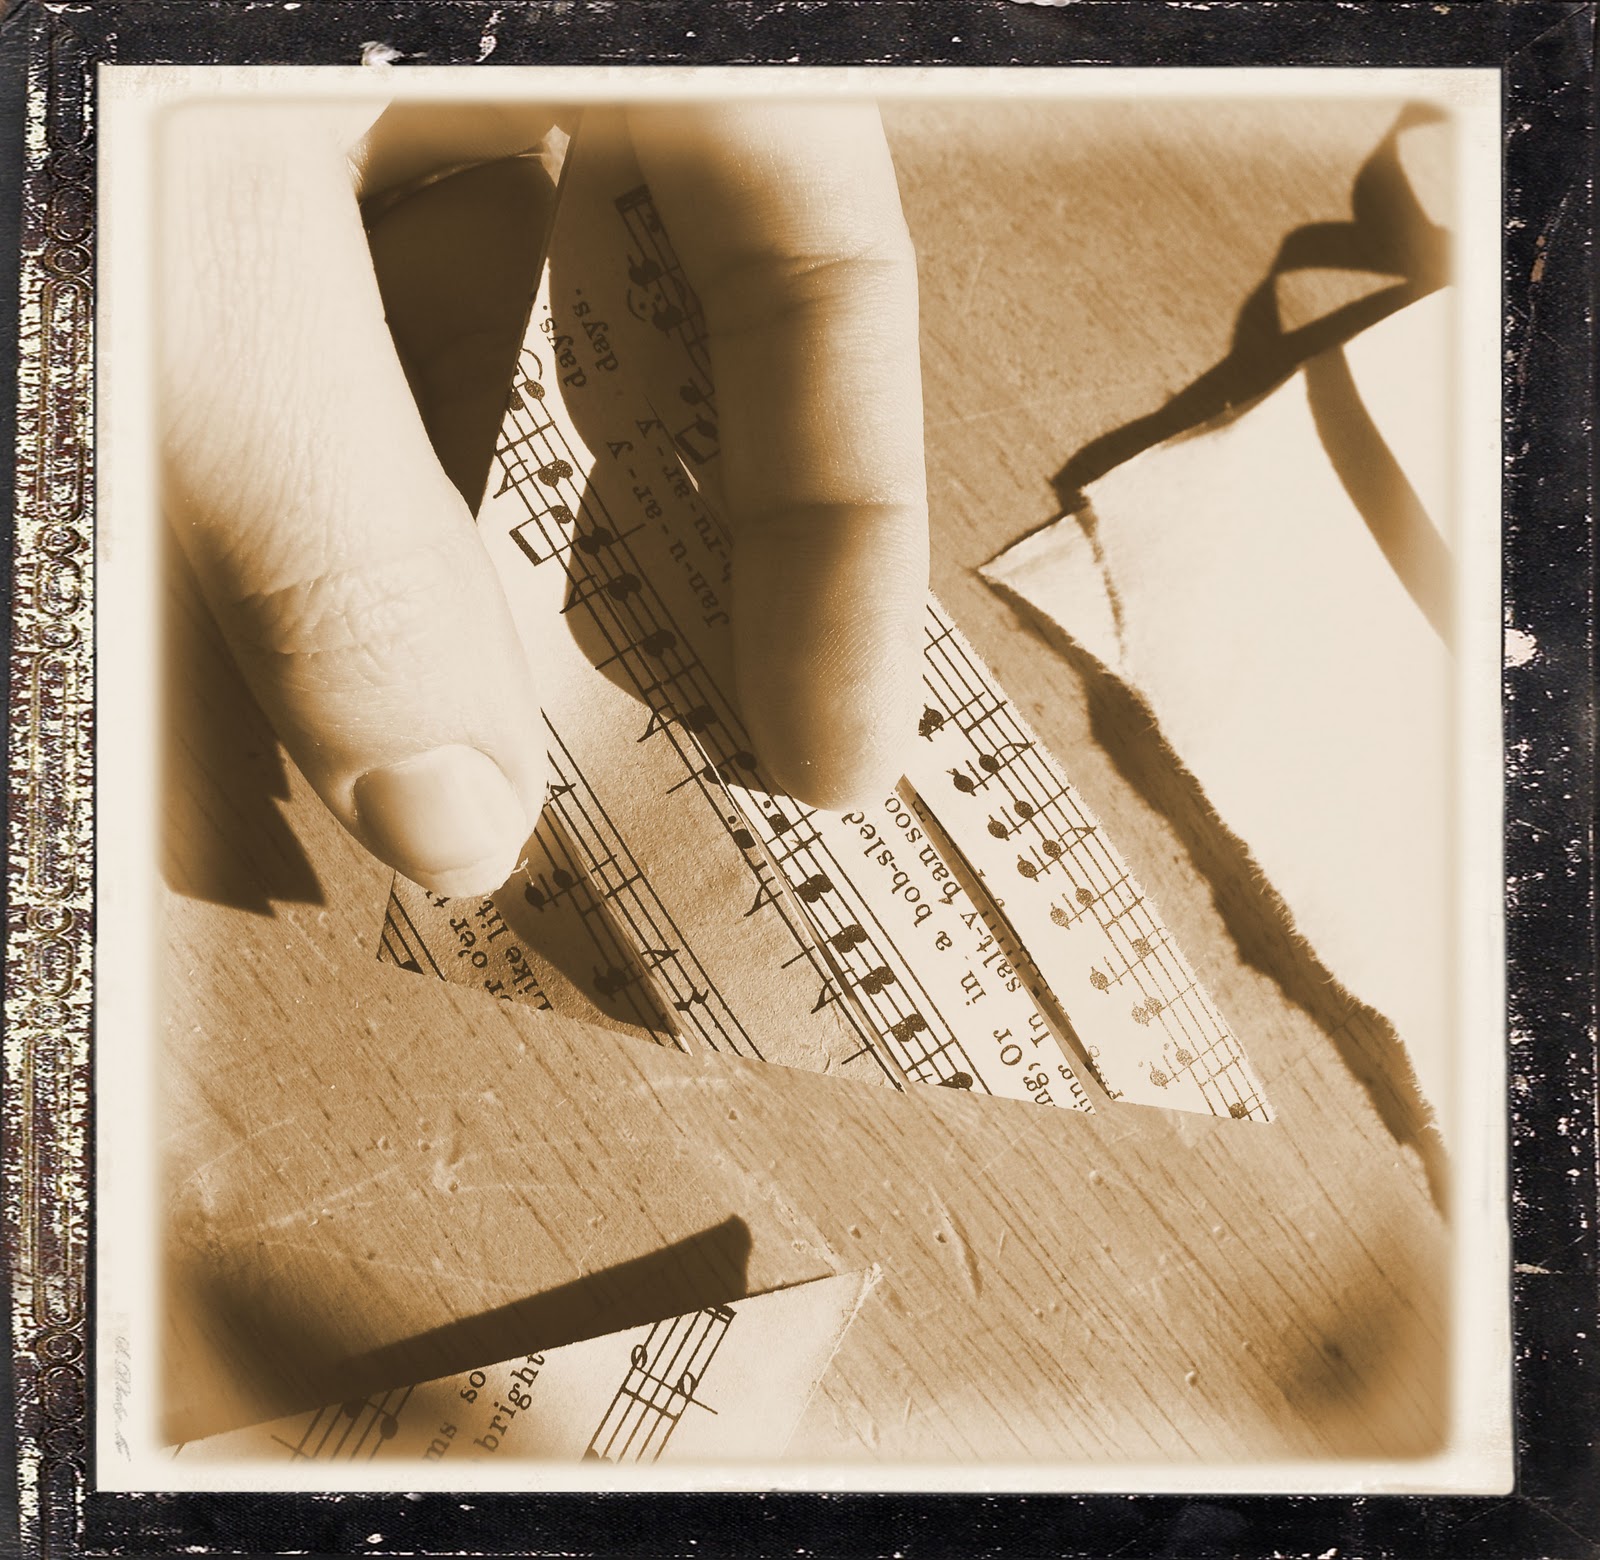
Fold in half, corner to corner, to make a triangle. Fold over once more. Hold your triangle in your hand as shown in the picture above .
Make 3 (or more if needed) cuts into your folded edge. Be sure NOT to cut all the way through. Leave 1/4 to 3/8 inch (depending on how large your paper is) at the end. Make sure the cuts are evenly spaced and leave the same amount uncut at each end.

Open your paper square. It should look like the one above.

Place a small amount of glue in your dish. Using a small paint brush, glue the inner triangle as shown above.


Skip a strip and glue the next one, as shown in the pictures above.
Now remember, you'll be making 6 of these. I usually work on the other ones while I let these dry.

Flip your paper over and glue the two remaining strips on the opposite side as shown. Let dry. In the picture above you'll notice your paper has one side (the left) that sticks out farther than the other. We'll call this the fat side.

Now, glue three pieces of paper together, gluing the fat side to the skinny side and gluing all three points together at the bottom.

Repeat this with the other 3 pieces of paper.
Once they are dry, glue the two halves together.


Your Finished!
 |
| Here's an unedited pic for ya! |
Linked to


neat!I bet my kids would love to help on a project like this! I love that old music book <3
ReplyDeleteThat is such a cute idea! I've never seen them before and love using the music sheets. Thanks for sharing it.
ReplyDeleteThese are so beautiful! I'm pinning it! Thanks for sharing.
ReplyDeleteThese are so cute. I love how rustic the music paper makes them look. Im gonna make some of these.
ReplyDeletehttp://curiouscountrycook.blogspot.com/
These are SO BEAUTIFUL! Thank you for sharing that great tutorial on how to make them...they really look easier than I thought when I saw the first picture. You broke the steps down well. I am going to "pin" this on my Pinterest board so I can make some too soon. I saw your post over at "From My Front Porch To Yours".
ReplyDeleteOh, wow! Those are gorgeous! And not nearly as hard as they look like they'd be to make! Thanks so much for the great tutorial...would you share it here at my holiday party?
ReplyDeletehttp://oneartmama.blogspot.com/2011/11/our-home-for-holidays-party.html
So beautiful. I want to make a few for gifts. Thanks for sharing.
ReplyDeleteThese are awesome! It looks a little tricky but I've got a book of old sheet music so I'm going to give it a try!
ReplyDeleteKaree
Great tutorial! Thank you for sharing!
ReplyDeleteSuch a neat idea! I would love to share this with my readers with a link to you if that is ok-
ReplyDeletebee blessed
mary
Of Course, I'd bee honored.
ReplyDeleteKrista
I WILL be making these this year! Thanks for a great tutorial!! :)
ReplyDeleteI featured this on my blog today:
http://christinasadventures.com/2011/11/sunday-features-45.html
I also pinned it!
http://pinterest.com/christinasadven/20-below-features/
Make sure you grab a "featured" button from my blog!! :)
Thanks, Christina. You Rock!
ReplyDeleteWhat a great tutorial! decluttering has provided me with 5 music sheet books....
ReplyDeleteI am a new and excited follower!
Love it! I have just tried it and cannot get my star to look like yours when I joined each half. If you could email any helpful tip that would be great. julieinspiredbyyou@gmail.com
ReplyDeleteInspired by you,
ReplyDeleteI've sent you an email with some (hopefully) helpful tips. It's difficult to explain. Let me know if it helps!
Krista
Bonjour
ReplyDeleteJe découvre votre blog et cette etoile est magnifique et si simple à realiser au vu du tuto.
Merci de ce partage.
Belle soirée
Pascale
Fabulous! I am adding this to my project list.
ReplyDeleteHi Krista, these stars are absolutely adorable. Thank you for instructing us how to make them. I have recently found your blog and am now following you, and will visit often. Please stop by my blog and perhaps you would like to follow me also. Have a wonderful day. Hugs, Chris
ReplyDeleteGorgeous and such great pics to follow. I'm a new follower too. Stop by and enter my Heirloom Ornament giveaway...only 1 day left to enter. Warm wishes, Lori
ReplyDeleteYou are my kind of Christmas crafting genius. :)
ReplyDeleteSo glad I found your project via Centsational Girl.
I would love for you to visit DTA as I am in the midst of a "Gifts You Can Make" series.
Be merry and bright!
Beautiful! Pinned for next year! Merry Christmas!
ReplyDeleteJenn :)
I just made one! Thanks, I used your tutorial but with a glue gun and it looks so beautiful! Happy holidays.
ReplyDeleteI love these! Thanks for the great tutorial! Now I just need to keep my eye open for some old sheet music!
ReplyDeleteThese are just dreamy! Popped over from Centsational Girl, and she was right! I love your sheet music stars.
ReplyDeleteHi Krista - I saw your star on Pinterest and loved it so much. I made one for a Frosted Designs Design Team challenge to try something new. It will go live on my blog and the Frosted Designs blog on Friday 12.30.11 with a link to your tutorial. Thanks so much!
ReplyDeleteThanks Teresa! I'll check it out.
ReplyDeleteI too found you via Pinterest. I think these are so beautiful, but something tells me that you make it look much easier than it is!? Also, maybe this is a dumb question, but where does everyone find the music paper?
ReplyDeletehttp://benikeboutique.blogspot.com
Thank you, Benike. But it's really not that hard. The most difficult part is gluing the two halves together just right so that you don't have a gap in the center. I actually have had my vintage sheet music paper since high-school (we won't say exactly how long). I know you can find plenty available online and even on ETSY.com. If you're not in a hurry, keep checking your local thrift stores, flea markets and antique stores. I have some sheets available I was eventually going to list in my shop. They are all either Christmas songs, nursery rhymes or patriotic songs...that I couldn't bear to cut up...being that they're nearly 90 years old. Let me know if you're interested and I can create a custom listing for you.
ReplyDeleteJust perfect. Throwing a party in February, going to experiment with a touch of glitter spraypaint with these. And I have a huge stash of old church music I can get at, for a song (hehehe). Will keep you updated on how they turn out! (going to protect my name until they turn out )
ReplyDeleteCan't wait..I'd love to see them.
ReplyDeleteI wonder if anyone has tried doing hearts like this? I may experiment, but would love to hear if anyone has tried any other shapes. I found some scrapbook paper that I think would make pretty ones. We'll see!
ReplyDelete