Showing posts with label aplique. Show all posts

Saturday, December 17, 2011

Flower Purse and Two Free Patterns!

I have two FREE patterns for you today! One is called Phoebe Bag and It's a free download available by artsy crafty babe. The other is the flower applique design which I created myself! I hope you like them and I can't wait to see what you do with your own flowers applique pattern.

I made my purse over a year ago and took the pics today...so you can see a little wear on the edges of the applique since I left them raw instead of sewing up ALL THOSE EDGES. I think it wore well. I would LOVE to have a Silhouette to cut out the shapes. So my edges can be perfect!


I found the pattern for the purse here.

And here is my applique flower pattern. You'll have to forgive me. My printer won't scan for me today, so I had to take a picture of my picture. I made this over a year ago. It's a little wrinkled...a little imperfect...kinda like me! Rather than spend a million years making my inside curves perfect, I just cleaned them up when I cut the fabric. I also used a raw edge applque method, so I wanted it to look a little less than perfect anyway.


Just click on the picture to print. This should print out in a full sized 8.5" X 11" paper. or adjust the size to your liking.

To use the applique you can either print this out on your choice of applique medium... I use Heat N Bond... or you can trace it out over a window or lightbox. Here are the steps:

  1. Print out the image on heat n bond (or print and trace onto heat n bond)
  2. Iron image to desired fabric
  3. Cut out the individual shapes
  4. Assemply the flower back together either on your table or ironing board. Use the template and numbered shapes as a reference.
  5. Peal paper off back of shapes, one at a time, and position them on your fabric
  6. Iron them on to your fabric per manufactures direction.
I hope you enjoy the flower applique pattern and be sure to stop by artsy crafty babe and pay her a visit.

Please remember that both patterns are available for free for personal use or as gifts and are not intended for use for personal sales. If you wish to use them for sale, please be sure to get explicit permission first. Thanks!

xo
Krista


Linking up to:
Tip Junkie handmade projects

Finishing Up Some Christmas Gifts

I finally finished sewing up some Christmas gifts this morning. They will be in the mail first thing Monday morning...Yay! I always have visions of grandure...planning all these handcrafted gifts for everyone in my family....and I have a large family. It never seems to work out that way, but I manage to make enough, at least, for the little ones.

I finished up this Scrabble board last week. I made one with large (inexpensive) magnets and one with teeny tiny expensive magnets. I definitely prefer the smaller magnets, however, it cost $10 for 100 magnets and in addition to the sheet metal, scrabble tiles and frame, it turned out to be a pricey gift. Either way I love them both and I believe their recipients will love them too. The intention is to hang this on the wall and play a continual "words with friends". I'll be making one for our family after the first of the year.


The other gift I have to share are some drawstring bags with an appliqued letter. These are for my nieces and nephew. They turned out really nice. Simple enough, but something I'm sure they will get a lot of use out of.


The outer fabric is a pinstriped denim and the lining is a quilters cotton. I just kinda threw them together. Cut the sizes that looked right. I believe the casing for the drawstring was 2" and the drawstring itself was 1.5" (folded 4 times with raw edges inside). I can create a tutorial if you're all interested...but after the holiday season. Like always, feel free to ask if you have any questions. I'd be happy to share.

xo
Krista

Friday, December 9, 2011

Break Free Linen Pillow

I've been busy. So many Christmas gifts to make...and I can't blog about most of them...we don't want to ruin the surprise. Once the holidays are over, I'll share all my little goodies with you.

Until then, I'll share my pillows with you. My ETSY shop is running low and I needed to stock up. So, I made a few of my ever popular Break Free Linen Pillows.

Etsy Listing

Etsy Listing


The pillows are appliqued on and sewn for added stability...the "break free" is done freehand. I also made this little number....She matches my chair I reupholstered earlier this year...and my curtains..I love this fabric. It's such a beautiful linen I've made myself a small change purse and a large slouchy tote....Can't get enough so I thought I'd share some with you....


Etsy Listing


I want to make some more items for my shop. It's so tough, this time of year, balancing projects for my shop and projects for Christmas.

I'm currently working on this Magnetic Scrabble board I found on Pintrest at The Twice Remembered Cottage What an AWESOME idea. She did such a great job and used almost 400 tiles!!! Hopefully I'll have mine finished and ready for a post tomorrow :)


xo
Krista

Thursday, November 3, 2011

Vintage Paper Star Banner - Tutorial


Vintage Paper Star Banner
or
Christmas Ornament
Tutorial
I have had this vintage music book (so vintage it's probably antique) for a long long time. It was in pretty rough shape but, I LOVED it...Just didn't know what to do with it.....until now!


I've made these stars for a holiday decoration before, for the kids, in bright festive colors.  Paper stars crafted from antique music book pages give them a whole new (grown up I might add) look and feel. I just know you're going to fall in love with them as much as I have.


Supplies

Vintage music pages
glue
dish
small craft paint brush
scissors


Make your paper squares (6)
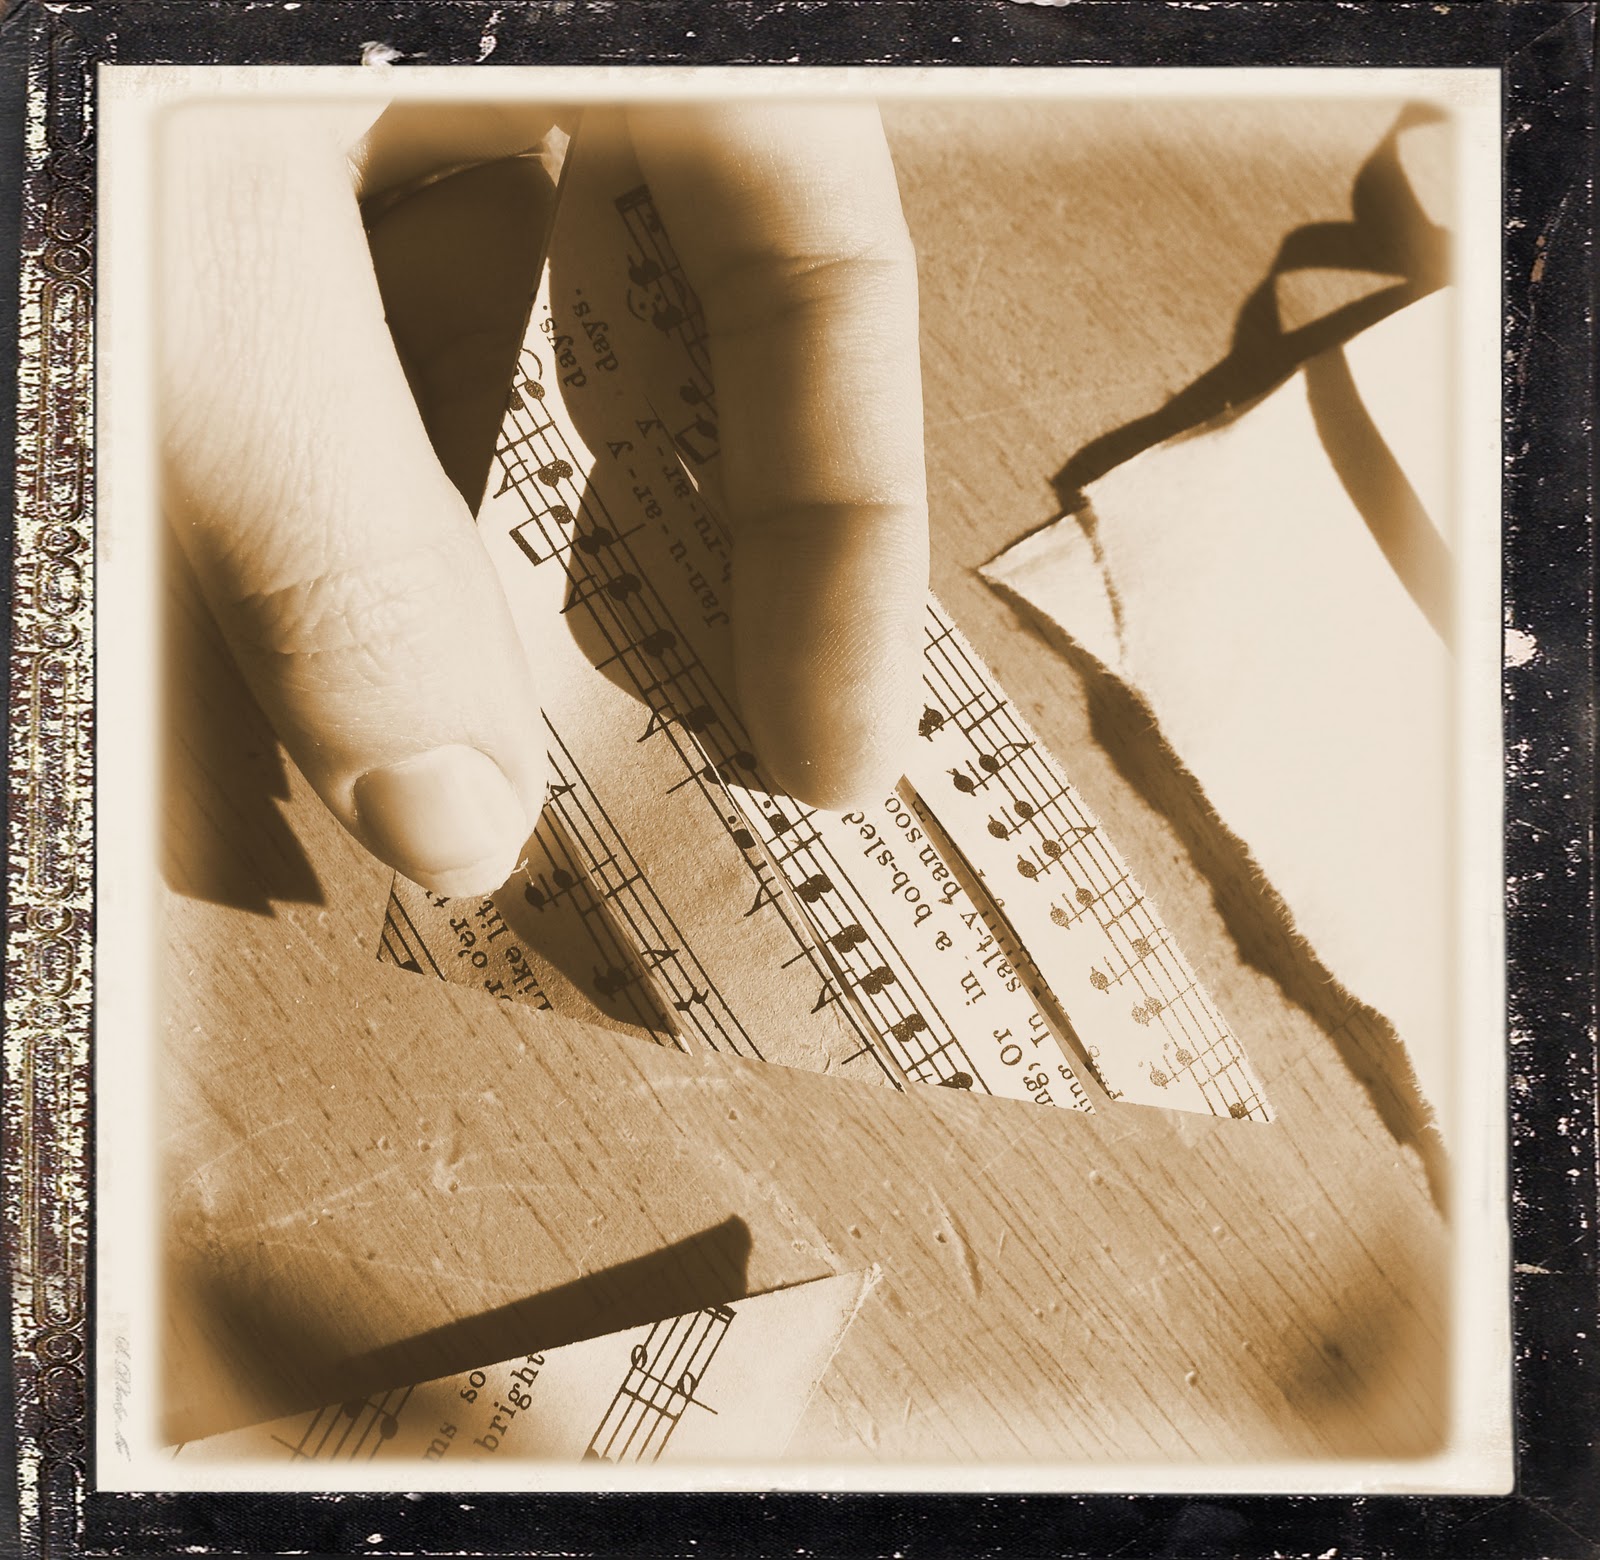
Fold in half, corner to corner, to make a triangle. Fold over once more. Hold your triangle in your hand as shown in the picture above .


Make 3 (or more if needed) cuts into your folded edge. Be sure NOT to cut all the way through. Leave 1/4 to 3/8 inch (depending on how large your paper is) at the end. Make sure the cuts are evenly spaced and leave the same amount uncut at each end.


Open your paper square. It should look like the one above.


Place a small amount of glue in your dish. Using a small paint brush, glue the inner triangle as shown above.


Skip a strip and glue the next one, as shown in the pictures above.


Now remember, you'll be making 6 of these. I usually work on the other ones while I let these dry.


Flip your paper over and glue the two remaining strips on the opposite side as shown. Let dry. In the picture above you'll notice your paper has one side (the left) that sticks out farther than the other. We'll call this the fat side.

 
Now, glue three pieces of paper together, gluing the fat side to the skinny side and gluing all three points together at the bottom.


Repeat this with the other 3 pieces of paper.
Once they are dry, glue the two halves together.


Your Finished! 


Here's an unedited pic for ya!


Linked to

shabby creek cottage Childmade The Shabby Nest monogram

Sunday, April 24, 2011

Catching up

Well, we have some catching up to do. You see I've been busy these past few years and haven't told you all about it. I'll make it brief and only talk about the things I've pictures for. I do not have tutorials for any of these however, I do plan to offer some in the future. Now, please forgive the pics...they were not originally intended for the world wide web....

This is a twin quilt i made for my little sister last spring. It is unbound in the picure...the two blocks i used were a snowball block and a 54 40 or fight block. I wasn't sure about her color choices,.. but I think it turned out nice in the end. I've seen this done with greens and then a red where the blue is...very festive for Christmas time. The last 3 pictures are of the bag I made to "wrap" the quilt in. It's made of a heavy weight linen and the applique is just stitched on with raw edges...


Well, that's all for now...we'll do some more catching up in a few..til then...
xoxo
Krista

LinkWithin

Related Posts Plugin for WordPress, Blogger...