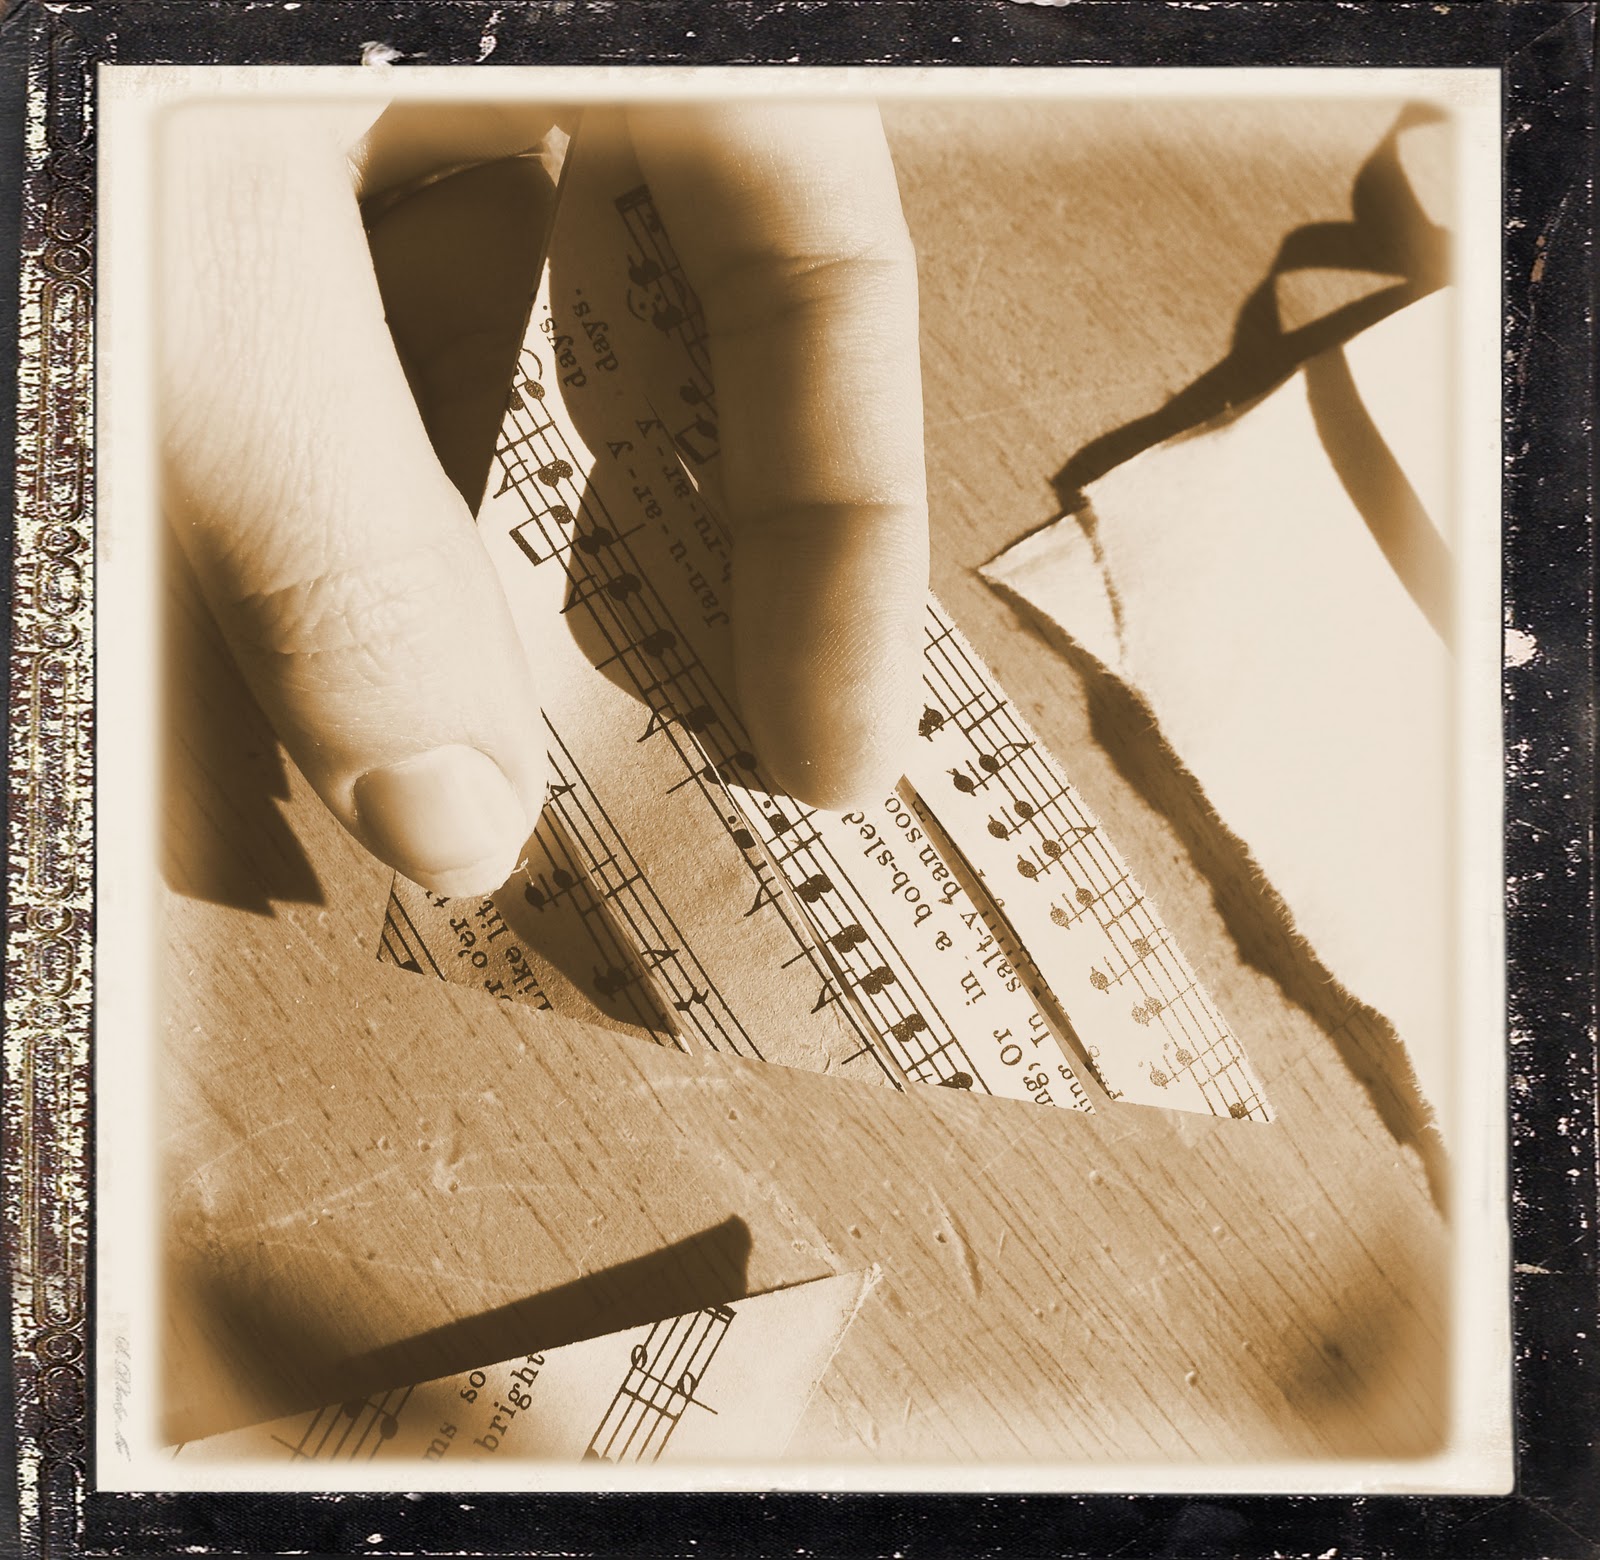
I've always had a soft spot for old books. The older the better. I started collecting vintage and antique books back in highschool and I'm still collecting today. Now I collect them for myself, to sell in my ETSY shop and the old ones that are in really bad shape, I turn into paper flowers. Here are a few I found the other day.


I like them, but they don't hold anything special for me. So I'll give them a new home where they'll be loved. I also found these:


I love that they all have an outdoorsy theme, which fits my husband and I...I LOVE LOVE LOVE the color combination! I had intended on listing these in my shop, but I've fallen in love with them and am having a hard time letting them go. The books are big (over 10 inches tall) and thick and bright and beautiful...in great shape...Don't you just love my little ceramic bird next to the Songbirds in Your Garden ?? Here are some more pics, in case you didn't get enough.


For now, I think I'll just let them sit on my shelf and hope that I get time to read them. OK, here are a few of my favorites from my real collection.

From left to right the copyright dates are: 1899, 1940, 1927 I believe the Ernest Hemingway is a first edition second printing...but I'm not an expert so, I'm not sure.


Copyright dates from left to right: Spelling book 1857, History book 1878, Dictionary of facts 1919
Don't you just love the picture on the front of the spelling book? To give you an idea of how old the history book is...the last picture is a list of all the states added after the original 13...38 total! How cool is that?
Another little piece of history I have is a 1913 Small Arms Firing Manual. It's full of notes and underlines and what I love most of all is the signature in the front. What beautiful handwriting. To me it represents a time when people took their time and pride in everything they did right down to their handwriting.


I bought this one the other day. It's in descent shape, but what I bought it for was it's pages. For only being 69 years old, the pages have a beautiful rich patina. The pages are also nice and thick and textured. I just had to have it for paper flowers.


Ok, I've saved the best for last! This one my wonderful Sister bought me a few years ago. It has a special place in my studio and in my heart.

It's a 1943 7th and 8th grade Home Ec book.


AND..it shows me how to use my new-to-me sewing machine I bought a few months ago! Here are a few more pics from the book.


I hope I have enjoyed my little treasures...who knows maybe, the next time you're at a used book store, you'll venture over to the old book section and take a look.
xo
Krista


I like them, but they don't hold anything special for me. So I'll give them a new home where they'll be loved. I also found these:


I love that they all have an outdoorsy theme, which fits my husband and I...I LOVE LOVE LOVE the color combination! I had intended on listing these in my shop, but I've fallen in love with them and am having a hard time letting them go. The books are big (over 10 inches tall) and thick and bright and beautiful...in great shape...Don't you just love my little ceramic bird next to the Songbirds in Your Garden ?? Here are some more pics, in case you didn't get enough.


For now, I think I'll just let them sit on my shelf and hope that I get time to read them. OK, here are a few of my favorites from my real collection.

From left to right the copyright dates are: 1899, 1940, 1927 I believe the Ernest Hemingway is a first edition second printing...but I'm not an expert so, I'm not sure.


Copyright dates from left to right: Spelling book 1857, History book 1878, Dictionary of facts 1919
Don't you just love the picture on the front of the spelling book? To give you an idea of how old the history book is...the last picture is a list of all the states added after the original 13...38 total! How cool is that?
Another little piece of history I have is a 1913 Small Arms Firing Manual. It's full of notes and underlines and what I love most of all is the signature in the front. What beautiful handwriting. To me it represents a time when people took their time and pride in everything they did right down to their handwriting.


I bought this one the other day. It's in descent shape, but what I bought it for was it's pages. For only being 69 years old, the pages have a beautiful rich patina. The pages are also nice and thick and textured. I just had to have it for paper flowers.


Ok, I've saved the best for last! This one my wonderful Sister bought me a few years ago. It has a special place in my studio and in my heart.

It's a 1943 7th and 8th grade Home Ec book.


AND..it shows me how to use my new-to-me sewing machine I bought a few months ago! Here are a few more pics from the book.


I hope I have enjoyed my little treasures...who knows maybe, the next time you're at a used book store, you'll venture over to the old book section and take a look.
xo
Krista